The Ultimate Guide to Fonts, Colors, and More for Your Forum Posts
-
Hey everyone! A while ago, @Fassionista asked me a great question which I responded to and I thought other people would be interested in the answer, so I decided to turn it into a blog post! The question she asked was this: "Where do you go to find out how to do colors and change font sizes [for your forum posts]? " So the topic for today's blog post is all about how to use the forum post menu and the cool effects you can do in your forum posts! Let's get started!

The Basics:
These features are pretty self-explanatory and most users already know how to use them but just in case you didn't, I will go over them very briefly!
Shown in the image above are the icons for the bold and italic features. To use them, you highlight the text you want to change and hit the corresponding button. Another way to use these features is to use the keyboard shortcuts. For bold, you can add two asterisks around the words you want bolded and for italics you can add one asterisk around the words you want bolded like so:

This will create the effect of insert text here. insert text here.
Emojis:
Need to add some personality and text just isn't cutting it? Add some emojis!

In order to add emojis, use can use the emoji icon (shown above) and scroll through the emoji menu options then select one by simply clicking on it.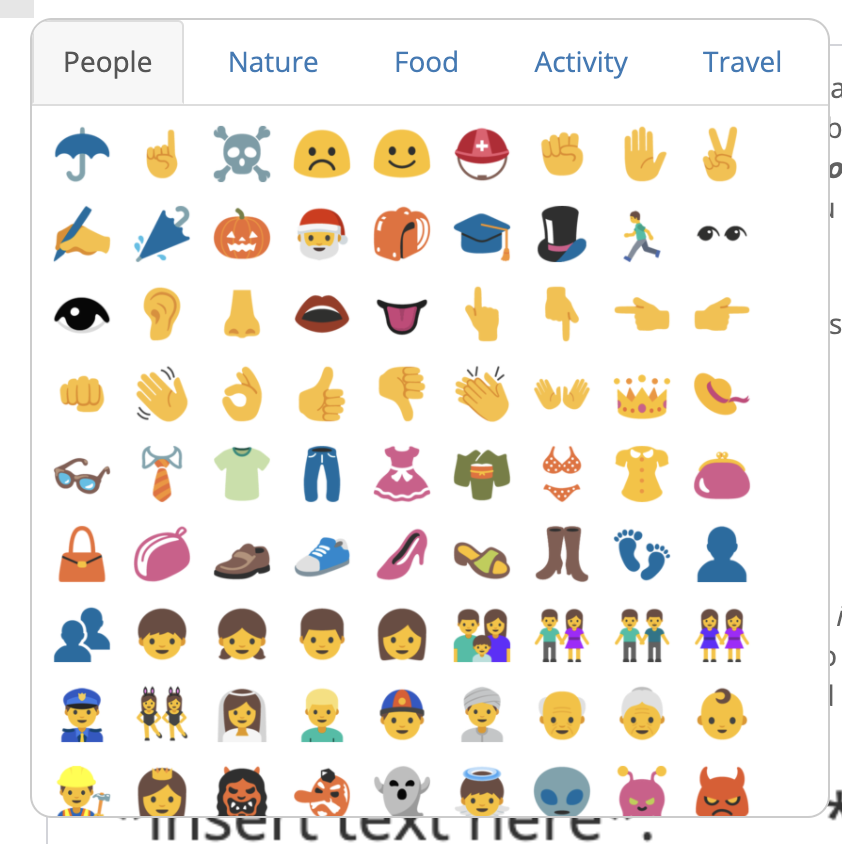
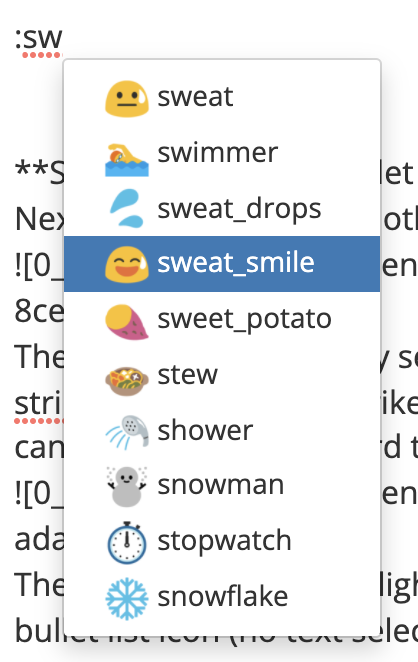
You can also add emojis by using the colon key on your keyboard and start typing the name of the emoji. As you type, it will pull up recommendations for the emoji you are looking for and you can click once you see it. This is a great way to quickly add emojis you frequently use because you would have been used to the name and don't have to scroll for it. For example, I want to add this emoji that I use often ( ). I started typing the name and then selected it once it came up!
Strikethrough and Bullet Lists:
Next let's talk about two other easy features: the strikethrough (right) and the bulleted list (left).
These features are pretty self explanatory as well. To use the strikethrough feature, select the text you want striked then push the strikethrough button. Easy-peasy right? It produces this effect:insert text hereYou can also use the keyboard to create this effect by surrounding your texts with two squiggly lines like so:

The bulleted list is only slightly more complicated. In order to create a bullet point in your list, you just click the bullet list icon (no text selection needed) and it will provide a bullet and a space that says list item exactly as shown below:- list item
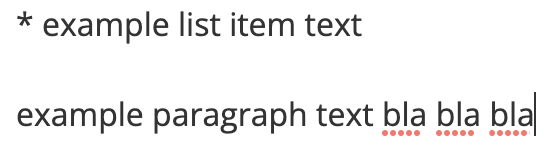
From there, you can replace the text "list item" with whatever you want to write. In order to release the list item, hit enter twice so there is a space between the text and the list item. If you only hit enter once it will look like this
- example list item text
example paragraph text bla bla bla

Instead of this:
- example list item text
example paragraph text bla bla bla
Color Picker:
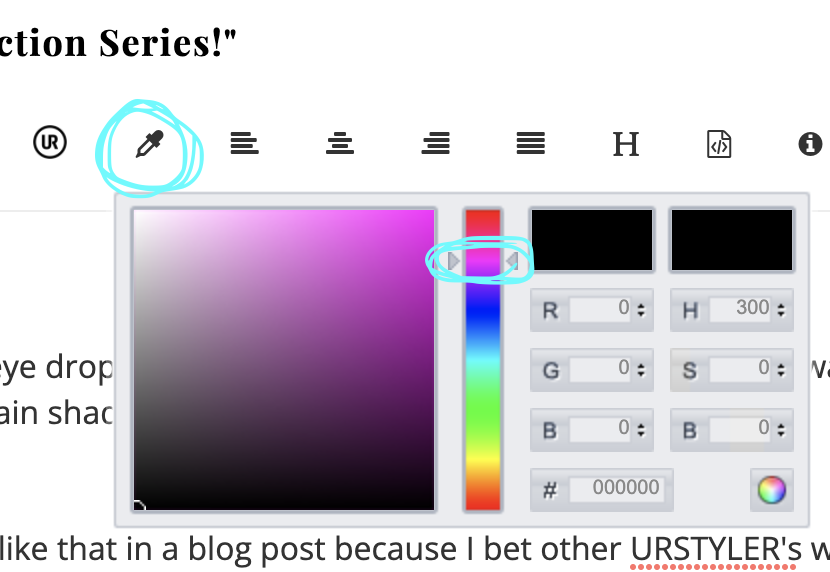
For colors, you use the icon that looks like an eye dropper and drag the slider to the color range you want, then use the specific circle to find a certain shade (it starts off hiding in the bottom left corner). Be sure to highlight the text you want colored BEFORE you use the color picker icon!

Additionally, in order to change a color without reselecting the text all over again (even though that is certainly an applicable method) you can go in the text and simply change the hex code (or that combination of letters and numbers in the parentheses). For example, in order to change this RED text to purple, I am going to change the hex code from #f01616 to a purple hex code. You can find the hex code from the color picker: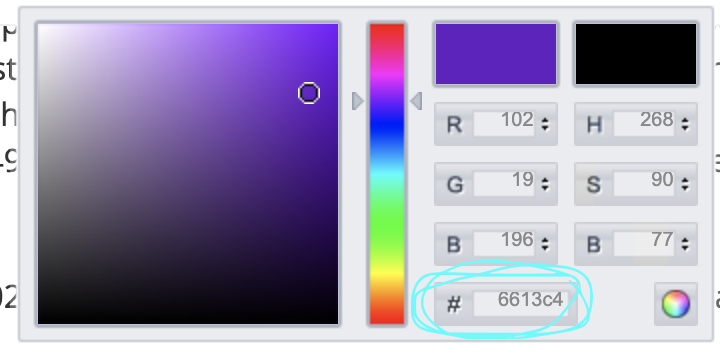
and then change it in the text:

So back to our original example of changing the text color from red to purple, you can see the only thing that changes is the hex code number.
Text:

Final Product:

Images and GIFS:
There are many ways to upload images and gifs into your forum posts using these icons here:
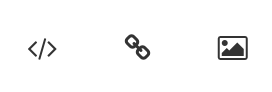
HOWEVER, the easiest way BY FAR is to use the upload icon shown here:

The reason I say this is because the other three icons involve you to put the direct image url for the file, which a lot of us don't know. When you use the upload feature, it directs you straight to your desktop where you can easily find whatever image you are looking for and it will put it in the necessary information for you!! Easy-peasy! For example, I want to upload an image of let's say flowers to this post. Using the image icon, I get a text fill like this:  that I now have to fill out. I have know idea what the exact image url is for my flower image because it is in my downloads folder on my computer so that is a big dead end for me. However, by clicking the upload icon, I can directly select the flower photo I want from my computer and hit open and it fills it in for me!

Here's what the image looks like in the text window (see how the image url is already filled out):

and here's what shows up on the final post:
Font Size:
For font size (specifically for effects where the font is larger like a header/title), type the text you want as a header, then hit enter and in the next line type two dashes. It should look like this:
Doing this will create the effect this effect

Insert Text Here
Paragraph Alignment:

Wondering how I made the heading shift to the center? Well worry no more because that is the effect of these four little icons which adjust paragraph alignment! The four icons above can change the position of your paragraph so it aligns to the left (icon 1), center (icon 2), or right (icon 3). Let's talk about these three first. In order to change the alignment of text, select the text you want to align and then press the corresponding button. Simple as that! You can also use the keyboard to change paragraph alignment as well which looks like this:
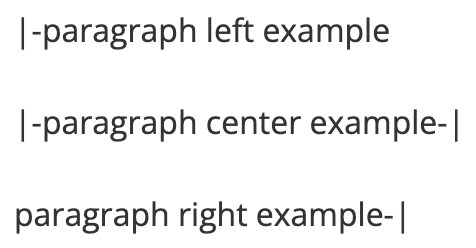
which corresponds to the following effects:
paragraph left example
paragraph center example
paragraph right example
However, make sure to note that the entire line of text will shift, not only the text you want!! You CANNOT have more than one alignment on a single line of a page!! The last icon is a little different because it aligns your paragraph (changing the spacing) so they form a box shape where each line ends at the same point. For example it changes your paragraph from this:

Combining Effects:
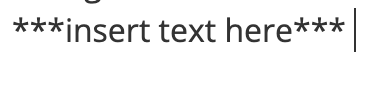
Not only are there so many cool functions and effects to use from your basic toolbar functions, but you can also combine them to create EVEN MORE cool effects! In this next section, I will show you some examples ranging from basic to complicated.Starting off simple, you can combine bold and italics by adding three asterisks around the words you want changed like below to create this effect
insert text here
You can also combine bold and italics with different paragraph alignments. For example, this text

can produce this effect:
"After a ski season that’s proved a total white out – European resorts have been closed for much of the year due to the pandemic – mountain adventures were on the cards at Chanel and Miu Miu. Virginie Viard staged her Chanel show at Chez Castel, Paris’s Left Bank boîte, and conjured up an après-ski scene to rival that in Gstaad or St Moritz, with models shedding giant furry coats and unclipping furry boot covers to reveal shimmying party dresses and sleek knee-high styles underneath.
To get more complicated, you can also apply bold, italics, and color to whatever text you use as a header like the one in the post. For example, this type

creates the final effect of this:

In summary, if you know all the keyboard method of how each effect is produced, you can combine almost any effects together!
That it for this ultimate guide of forum functions! If you have made it this far, thank you for bearing with me you are a real one!! I didn't expect this post to be anywhere near this long
I hope this has helped you make your forum and blog posts a little more exciting and I will see you guys another time (in 2022) ! Have a great end to the year!~ Mayblooms
Comments (0)